Reel-to-reel is the audio-tape series’ awkward cousin. The principles are almost exactly those in the cassette capture guide — clean the deck, set safe levels, capture flat, fix it later — but there’s no plug-and-play shortcut here (nobody makes a USB reel-to-reel deck), and the format carries a few genuine intricacies that cassettes don’t. So if you’re working out how to transfer reel to reel to computer, this is the companion piece: the same recording discipline, plus the handful of things that are specific to open-reel tape.
You’ll need a deck — and the right one
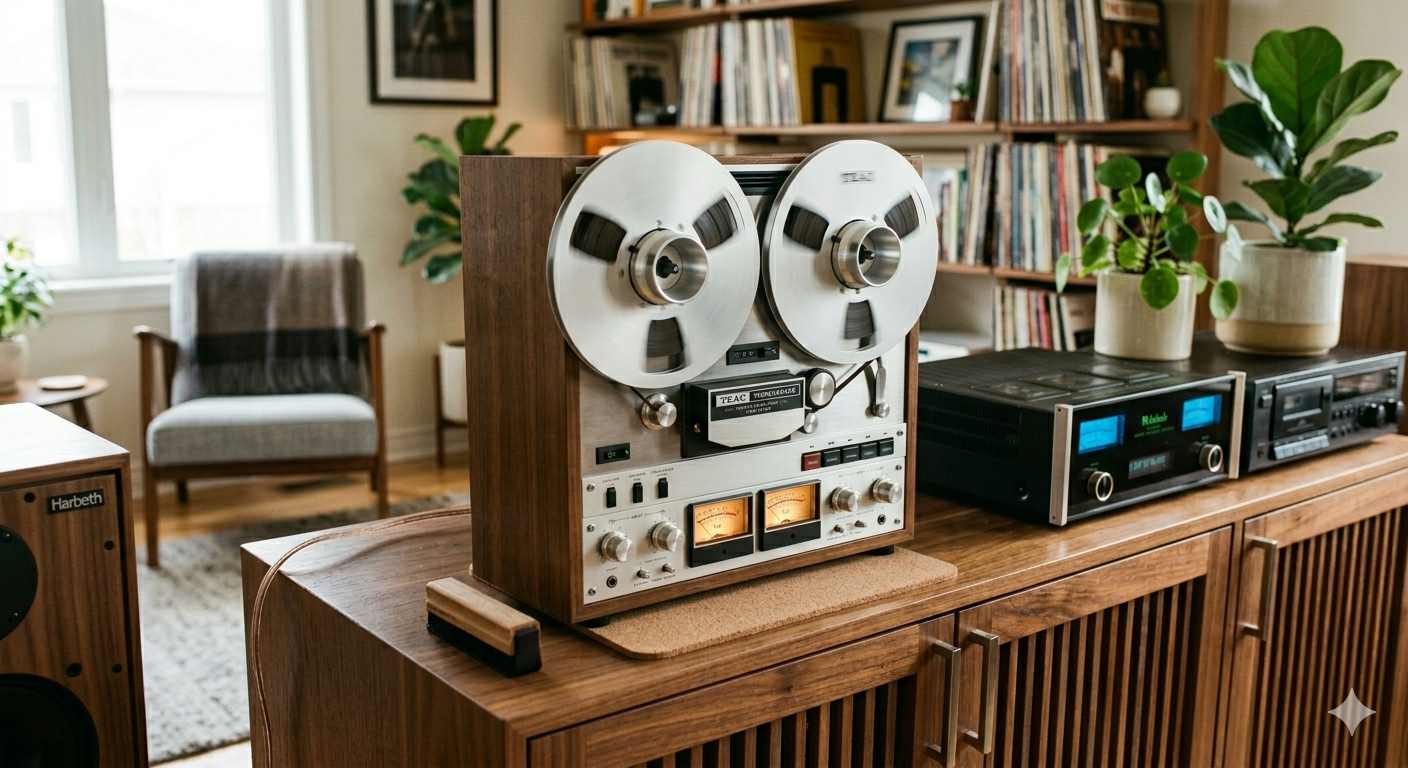
There’s no way round it: the one hard requirement is a second-hand reel-to-reel deck that fits your budget. A few things worth knowing before you buy:
- Don’t accidentally buy a mono deck unless you know your tapes are mono. These are older units, and the early ones predate the world standardising on tidy line outputs.
- Aim for a well-kept 1970s or 80s model. The format has been around in one form or another for the best part of a century, but a good late-70s or 80s machine produces excellent sound and is the sweet spot — newer “audiophile” decks are rare and dear, and you don’t need one.
- Check the outputs. Stereo RCA is ideal (those cables are still everywhere); a DIN socket is fine with a DIN-to-RCA lead, though you may have to get creative if you need DIN to ¼-inch jack for an interface like a Focusrite. What you find will largely dictate this.
A couple of edge cases: some decks have quadraphonic (4-channel) outputs — if you need one, you’ll already know. And there’s a separate world of studio multitrack machines using wider tape for 16, 24 or 32 tracks; that’s specialist gear, so if that’s what you’ve got, ask in the community and I’ll help you through it one-to-one. For finding a deck, the usual second-hand sites are the place to start — Reverb in particular is a good global one for audio gear, and there are outfits that sell refurbished units if you’d rather not gamble.
Match the track format and the speed
This is the part that has no equivalent on cassette. Open-reel tape was recorded in different track formats — full-track, half-track, quarter-track — and the deck’s heads have to match how the tape was laid down, or you’ll get the wrong thing: missing channels, or the audio from a pass recorded in the other direction playing backwards underneath. A quarter-track tape is the one to watch: it holds two separate stereo recordings running in opposite directions — tracks 1 and 3 one way, 2 and 4 the other — so you flip the reel to reach the second, exactly like turning a cassette over. Play it on a deck built for a different track layout and you will hear that reverse-direction pass bleeding through backwards. Likewise the tape speed (commonly 3¾, 7½ or 15 inches per second): set the deck to the wrong speed and the pitch and length come out wrong. If you’re unsure, the deck the tape was recorded on — or one of the same configuration — is the safe bet.
There’s also equalisation — the NAB and IEC/CCIR standards, which affect the tone. If you know which a tape used and your deck offers the choice, match it; if you don’t, capture flat and you can correct the balance in software afterwards, the same way we treat Dolby on cassettes.
Handling old tape
Open-reel tape suffers the same ageing as any magnetic tape. Older tape can develop sticky-shed — the binder holding the oxide absorbs moisture and turns gummy, squealing and shedding as it plays — and the fix is the same low-temperature baking used for video tape, covered in rescuing a damaged tape. A tired-but-sound tape often plays more smoothly if you wind it fully through once first to re-tension it. And old splices dry out and let go: re-make them with proper splicing tape, handling the tape with clean cotton gloves and always taping the back, never the playing surface.
One mechanical trap specific to reels: don’t mix large-hub and small-hub reels on the same pass. The torque is different enough that a worn deck can snap the tape or spill it — match the reel sizes, and use the deck’s small/large-reel setting if it has one. As with cassettes, a playback head that’s drifted out of true (azimuth) gives a dull, “swimming” sound; the preparation guide covers setting that.
Capturing it
From here it’s ordinary audio capture, and the rules are the same as for cassettes: feed the deck’s line output into your line input (not a mic input), set the level so the loudest peaks stay clear of the digital ceiling, and capture flat and uncompressed — a 24-bit WAV or FLAC master in something like Audacity. Let the whole reel run rather than chasing edits live; afterwards you trim the leader, cut out any tape breaks or speed changes, split into tracks and name them. Keep that flat capture as your master and do any de-hiss or clean-up on a copy.
What’s next
This sits alongside the audio-tape series — start at the overview if you haven’t, and the connecting-your-equipment guide covers wiring the deck in. Once the audio’s captured, keeping it safe is the job of designing a family archive that survives you.


